Using AI to clone sites
At Gumnut, we have built the modern textbox, helping old-school HTML forms grow up.
INFO
Gumnut adds real-time collaboration, version control and attribution anywhere. Improving productivity, quality and compliance with data.
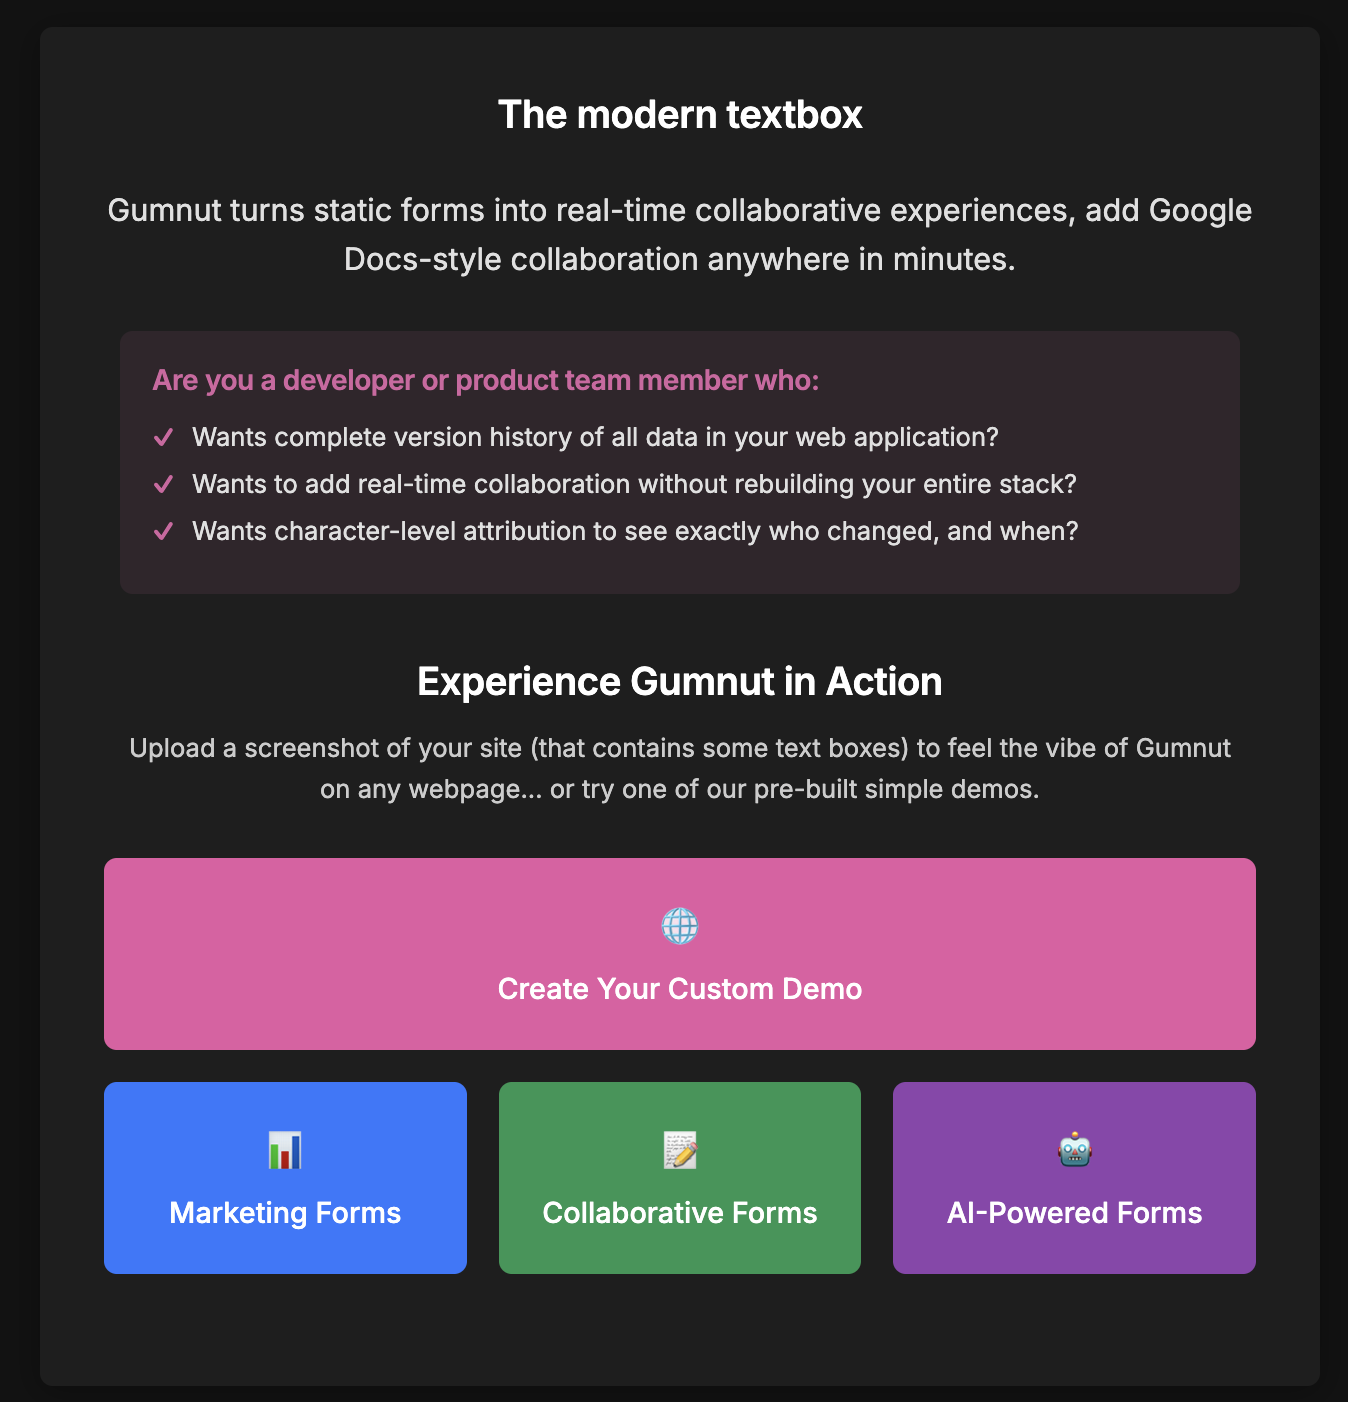
But we wanted to build a tool that can show you what it looks like, to get the vibe of the thing - as we're creating a new type of editor! So rather than having you write code, you could just give it a go.
So we built our demo page, sorry for the cheesy copy.
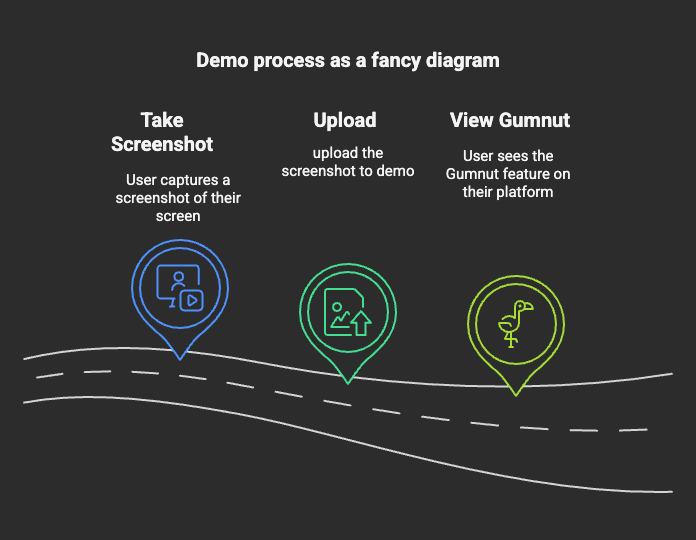
How it works
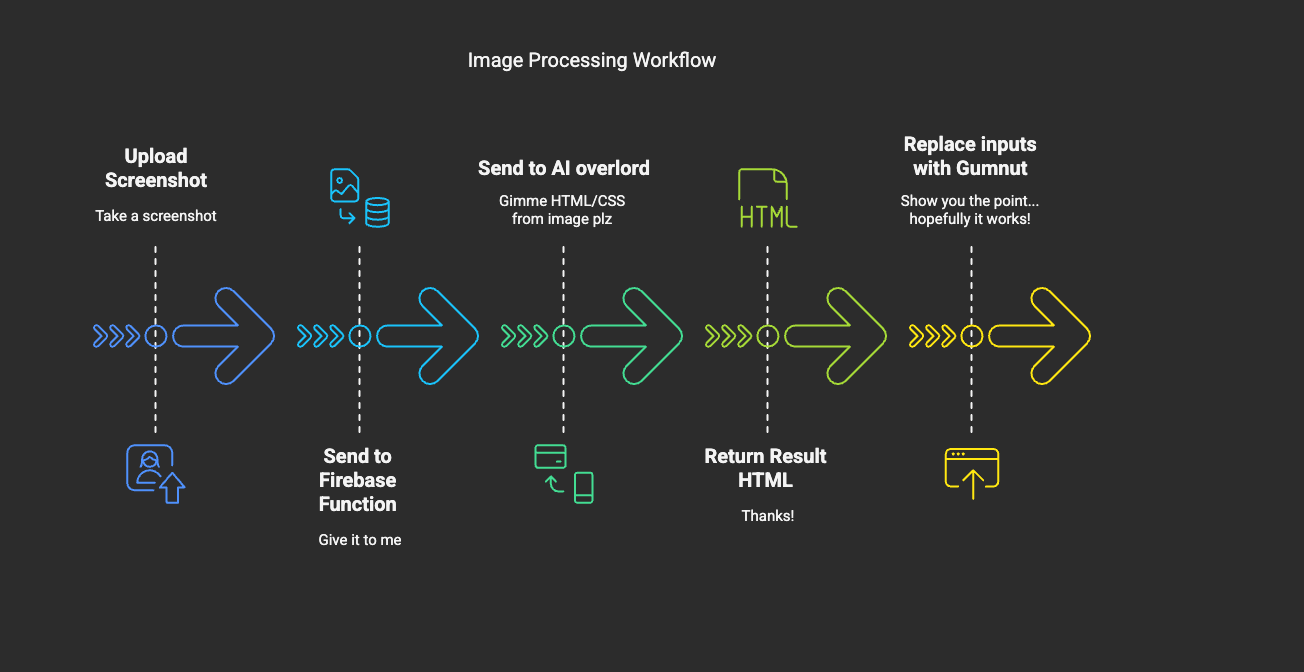
Hopefully this is an example of a Good Use of AI™. The workflow should be:
We're using Google's stack so our architecture is a couple of steps over Firebase and friends:
Screenshot to HTML
Uploading the screenshot is pretty straightforward JS.
// Generate a unique site ID
const siteId = generateUniqueId();
const imageURL = await getDataURL(currentFile);

const functionData = {
  email: email,
  screenshotURL: imageURL,
  siteId: siteId,
};

const result = await generateWebsiteFunction(functionData);
// redirect viewer to iframe
window.location.href = `viewer.html?id=${siteId}`;
So that's pretty straightforward. We pass a URL and siteID to Firebase to process it. So how does generateWebsiteFunction work?
In simple terms, we send the image to Gemini using the gemini-2.0-flash model (it's fast and pretty good). To do that, we get a base64 image and the content-type, and then use @google/generative-ai library to send to Gemini.
TIP
I tried this with Claude 3.7 and it worked fine, but gemini was faster so we went with that. On really big sites Claude was a bit painfully slow.
We get the content-type from the image, and the
const matches = screenshotUrl.match(/^data:([A-Za-z-+/]+);base64,(.+)$/);
if (!matches) {
  throw new Error("Invalid data URL format");
}
contentType = matches[1];
const base64Data = matches[2];
imageBuffer = Buffer.from(base64Data, "base64");
Initial prompt
const initialPrompt = `You are an expert CSS and HTML developer.

Analyze this screenshot and generate HTML/CSS code that recreates EXACTLY what is shown in the uploaded image.Faithfully recreate the UI shown in the screenshot, treating it as a completely separate design.

Pay close attention to background color, text color, font size, font family, padding, margin, border, etc.Match the colors, layout, and text content exactly as shown in the screenshot.Make sure the text color inside the textareas is readable, and the text is not too small.

If you detect any images, replace them with a placeholder, or use an emoji to replace them. There should be no images in the final output.

Return ONLY the complete HTML with inline CSS. No additional JavaScript. No explanation. No markdown formatting.

Your response should start with <!DOCTYPE html> and include everything needed for a standalone page.`;
It's pretty intense, but it works well enough. You have to treat the AI like a toddler (in basically all circumstances), and just like a toddler it will go rogue given any excuse.
It can be called by a simple snippet:
import { GoogleGenerativeAI } from "@google/generative-ai";
const genAI = new GoogleGenerativeAI(apiKey);
const model = genAI.getGenerativeModel("gemini-2.0-flash");
const initialResult = await model.generateContent([
  {
    inlineData: {
      data: base64Screenshot,
      mimeType: contentType,
    },
  },
  initialPrompt,
]);
We run it again anyway, since Gemini is quite fast, and the improved results make it worth producing it twice.
const verificationPrompt = `Compare the original screenshot with the HTML implementation I provided.
Identify any visual differences, missing elements, or styling inconsistencies.

Then generate an improved HTML version that better matches the original screenshot.
Focus on fixing:
1. Missing or incorrect text content
2. Color mismatches (background, text, borders)
3. Layout and spacing issues
4. Font sizes and styles
5. Missing UI elements
Pay specific attention to colors, and make sure writing color has good contrast with the background color. Replace all images with an emoji or a placeholder.

Return ONLY the improved HTML. No explanation needed.`;
const verificationResult = await model.generateContent([
  {
    inlineData: {
      data: base64Screenshot,
      mimeType: contentType,
    },
  },
  "Here is the first HTML attempt:",
  generatedHtml,
  verificationPrompt,
]);
Even with this extra step, sometimes the output is far off the original, but it's still good enough for most things we throw at it.
Upgrading the input to use Gumnut
Once we have the HTML downloaded, we need to upgrade all the <input> and <textarea> to <gumnut-text> , so we can, like... show you the whole point of why we built this thing anyway.
// upgrade all inputs
const cands = parsedDoc.querySelectorAll("select,input,textarea");
for (let i = 0; i < cands.length; ++i) {
  const s = cands[i];
  const wrap = parsedDoc.createElement("span");
  s.replaceWith(wrap);

  let element;
  if (
    s.nodeName === "TEXTAREA" ||
    (s.nodeName === "INPUT" &&
      (!s.type || ["text", "email", "tel", "url", "number"].includes(s.type)))
  ) {
    element = parsedDoc.createElement("gumnut-text");

    if (s.nodeName === "textarea") {
      element.setAttribute("multiline", "");
      element.setAttribute("resize", "auto");
    }
  } else {
    element = parsedDoc.createElement("gumnut-data");
    element.append(s);
  }

  // always provide name (or fallback name)
  element.setAttribute("name", s.getAttribute("name") || `field-other-${i}`);

  // move these to new holder
  ["placeholder", "id", "class"].forEach((name) => {
    if (s.hasAttribute(name)) {
      element.setAttribute(name, s.getAttribute(name));
      s.removeAttribute(name);
    }
  });

  const f = parsedDoc.createElement("gumnut-focus");
  f.setAttribute("name", element.getAttribute("name"));

  wrap.append(element, f);
}
That does the job. We create both a gumnut-text (for full collaborative text) or gumnut-data (for "last-person-wins" behaviour, e.g., for checkboxes and the like) along with a gumnut-focus element which automatically shows the "heads" of who's editing something.
Gumnut also provides React and other framework components, which we suspect the majority of our clients will use! But under the hood, they're all powered by Web Components.
Making it slightly less cursed on mobile
Gumnut is a collaborative editor, so to actually see the collaboration, you need two tabs. Or two people. Or some kind of quantum split-screen.
Which is not great on mobile.
So I hacked in a little "open second tab" button that loads a second iframe in the same view. Now you can fake collaboration with yourself, directly on your phone.
I also synced the scrollbars between each iframe—originally it want meant for mobile, but it turns out desktop feels less weird this way too, and it means I don't have to add more rules. I prefer doing less work, so that's how it ended up.
Try it yourself
You take a screenshot. I turn it into a haunted version of your UI where every input is how it want meant to be.
You didn't ask for it. But here it is:
INFO
If you're a bit scared of AI, the demo also has a few pre-built examples of where Gumnut might be useful. But we hope you'll try out your private, behind-login forms and see what adding Gumnut to them might feel like.